
Flourless Chocolate Pumpkin Muffins!!!!
Confession: I have ALWAYS been skeptical of anything “flourless”. You see, I love to bake! Especially in the Fall and Winter…it’s a hobby for me. Breads, pies, cookies, cakes, you name it, I love to cook it. The way my house smells while I bake is intoxicating!
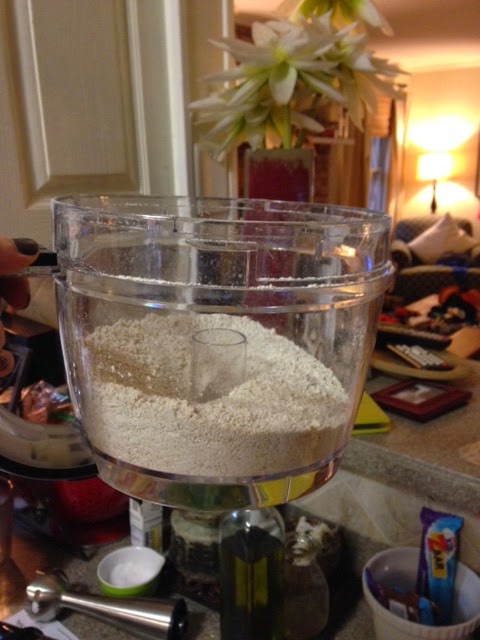
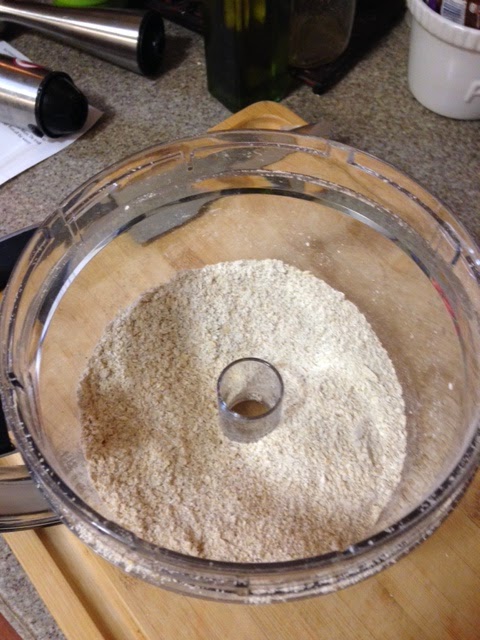
Well, clean eating is not conducive to a lot of sugary, carb-filled foods, so I have been looking for good alternatives. A lot of “clean” recipes call for oat flour…which is just rolled oats that have been ground up into a flour-like consistency. Why not, right?
So, I pulled out my fancy food processor (that I had to have my mother come show me how to use…ahem!) and got to work. This took approximately 3 minutes to do – super simple. Now, I could have totally used my blender to do this, and you can too, but I have had this food processor for years and rarely use it. It makes my husband happy to see me use the fancy tools he buys me, so I killed two birds with one stone!
Ingredients
1 cup canned pumpkin
2 tablespoons honey
2 tablespoons brown sugar, lightly packed
1 teaspoon vanilla extract
1 large egg
1/4 teaspoon salt
1/2 teaspoon baking soda
1/4 teaspoon baking powder
1 teaspoon cinnamon
1/4 teaspoon nutmeg
1/4 teaspoon pumpkin pie spice, optional
1 cup + 1 tablespoon oat flour (measure AFTER they are blended)
1/3-1/2 cup dark chocolate chips
Instructions
1. Preheat oven to 350 degrees F. Spray a muffin tin with nonstick spray; do not use muffin liners with these.
2. Combine the pumpkin, honey, sugar, vanilla and egg in a bowl. Beat until combined.
3. In another bowl, stir together the salt, baking soda, baking powder, spices, and oat flour.
4. Add the dry to the wet ingredients mixing until just combined. Over-mixing will result in dense muffins.
5. Stir in the chocolate chips.
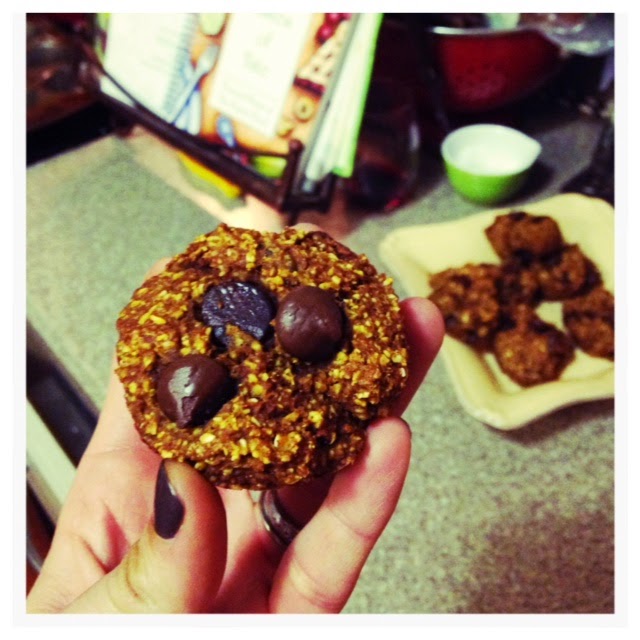
6. Separate the mixture evenly among 9 muffin cavities and place a few extra chocolate chips on top if desired. (this makes them look pretty!)
7. Bake for 16-18 minutes. Remove and allow to cool and then remove them from the muffin tin.
8. These muffins are a lot tastier and softer when slightly under-baked so try not to over bake them.
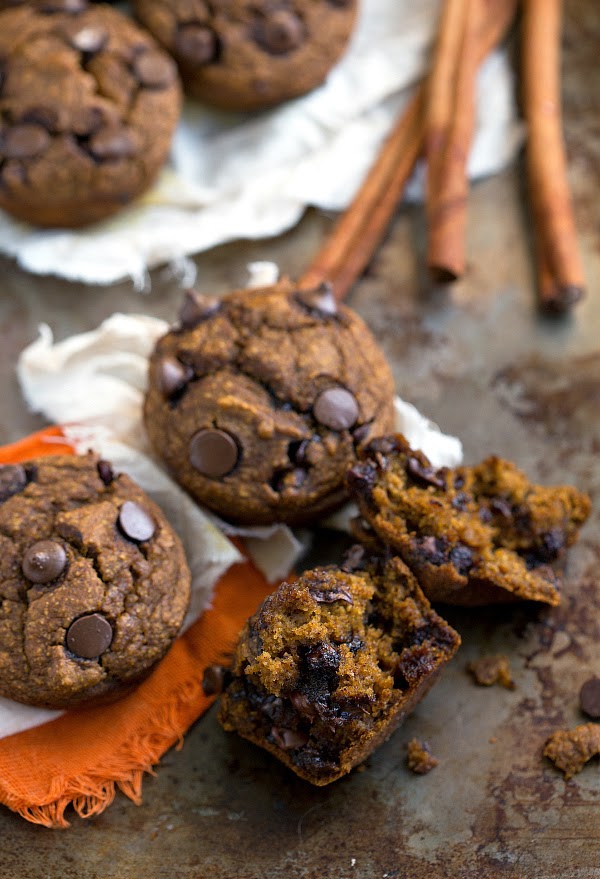
Even though I was skeptical, I’m glad I tried these, because THEY. WERE. DELICIOUS!!!!!! I could not believe how good they tasted and how well they hit my sweet cravings! Milo ate two of them in five minutes, and I had ask Matt to stop and save some for the rest of us…Score!!!
If you are doing the 21 Day Fix program, two of these would count for one Yellow container. They would be really good for breakfast with eggs…or for dessert!
I have another confession to make…when I bake, I make a mess! Not to mention, I was making a somewhat labor-intensive pot of soup at the same time. THIS is what my kitchen looked like last night!
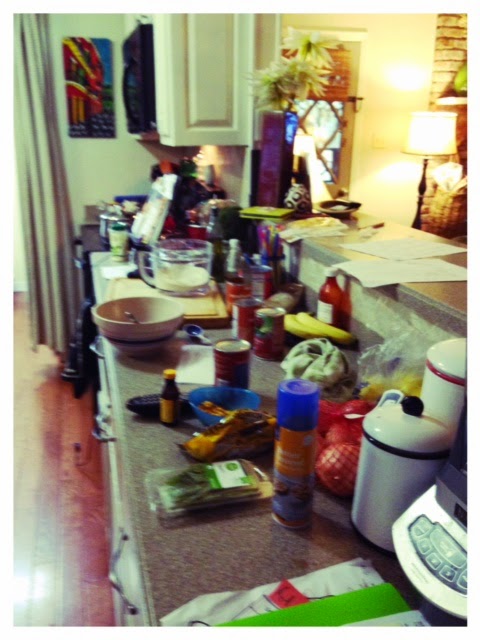 |
| Totally worth it! |
I hope you enjoy!